

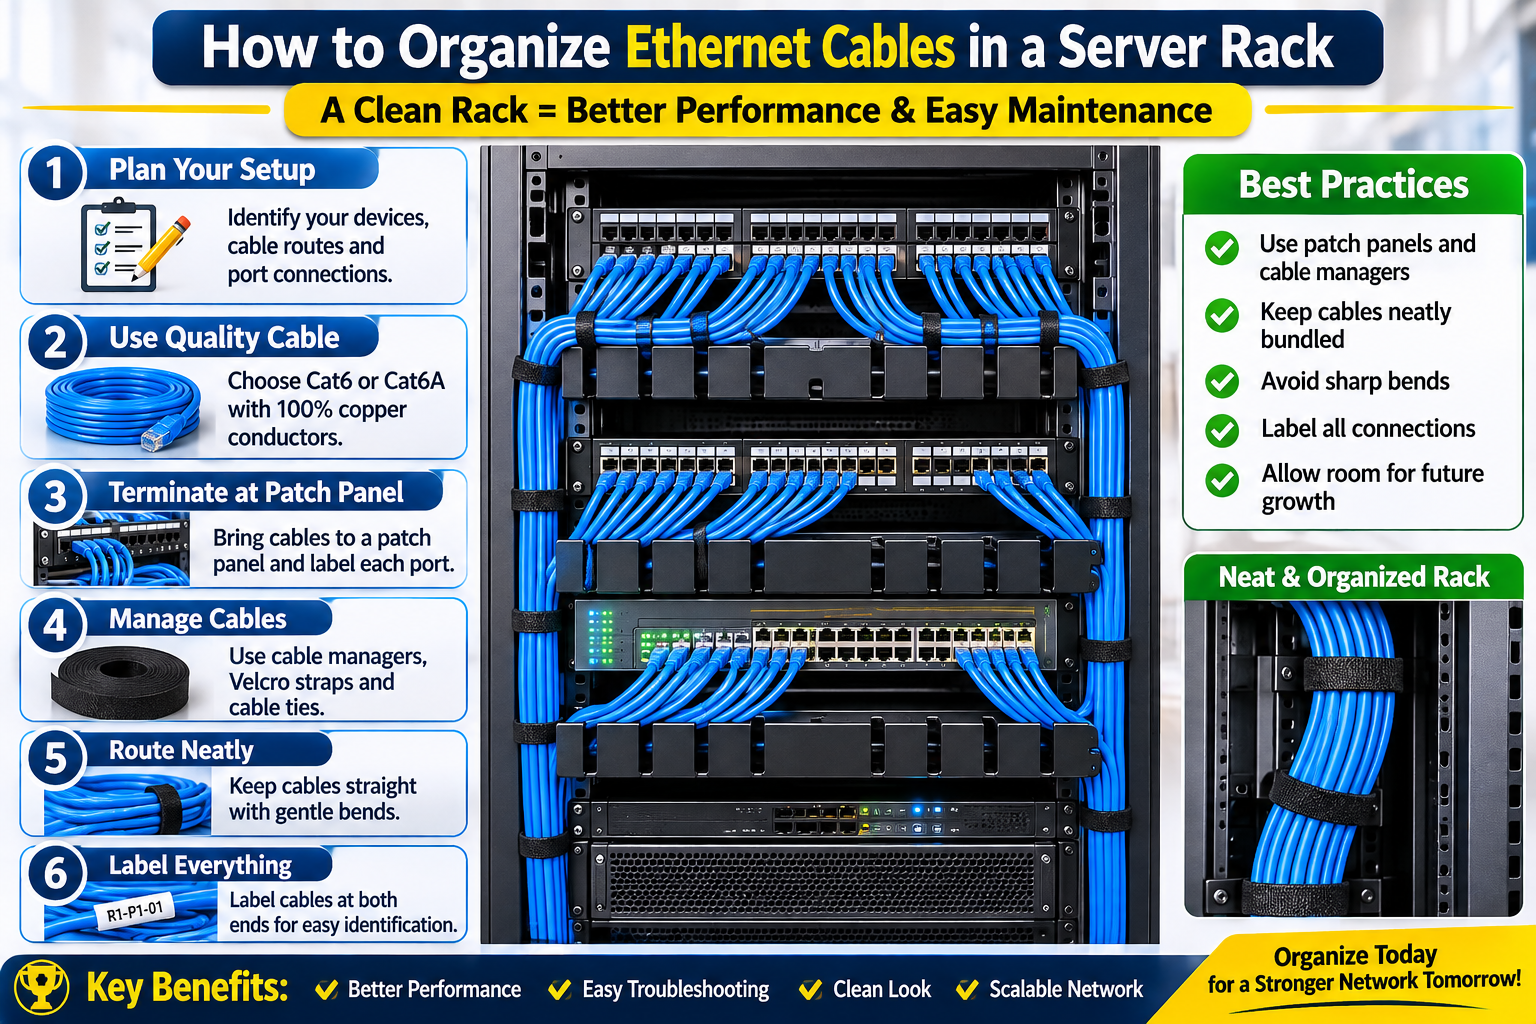
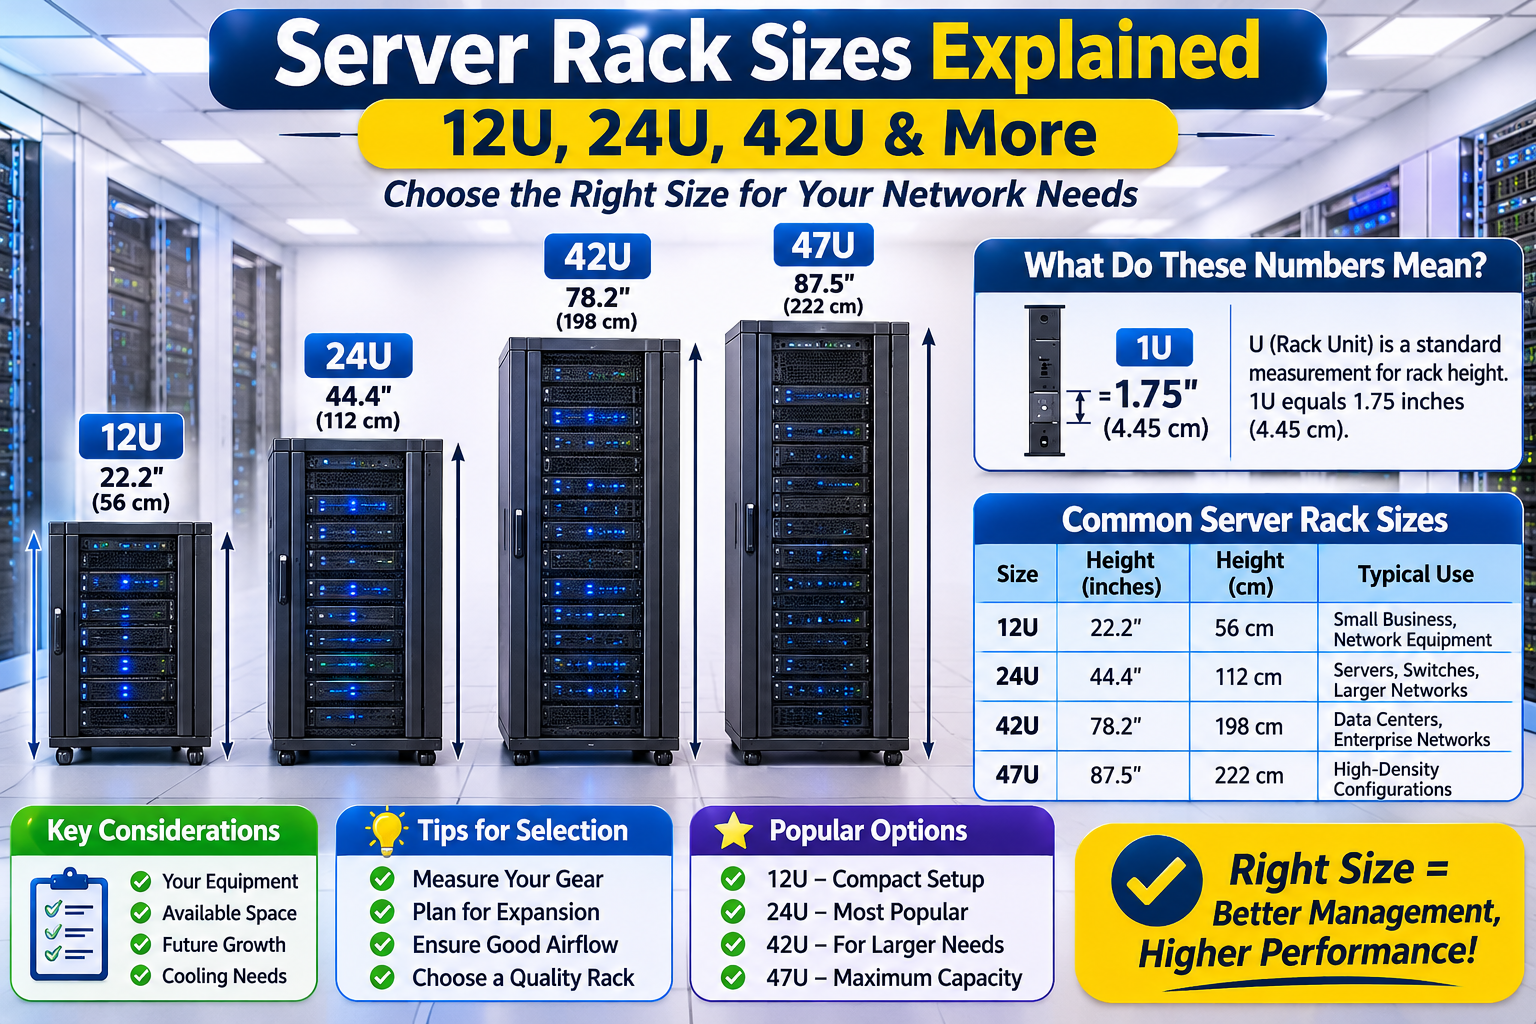
Server Rack Sizes Explained: 12U, 24U, 42U & More
Choosing the right server rack size is an important part of building an organized and reliable network infrastructure. Whether you are setting up a small office network, a business server room, or a large data center, the rack must provide enough space for your networking equipment while allowing proper cable...
Continue Reading
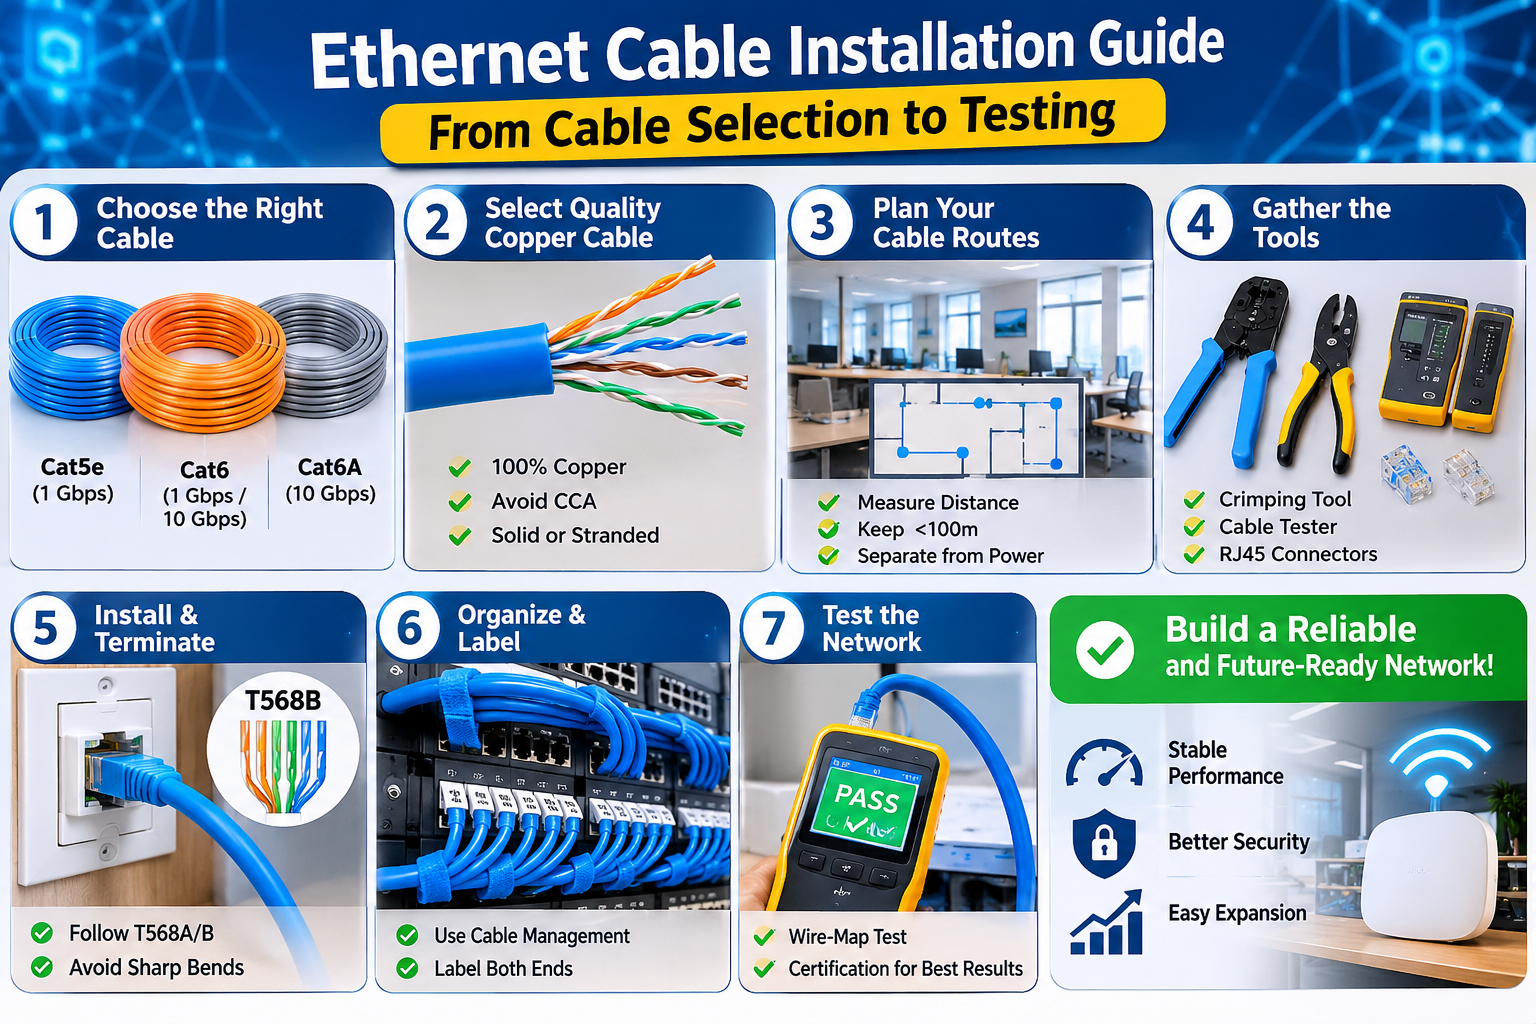
Ethernet Cable Installation Guide: From Cable Selection to Testing
A reliable Ethernet network starts with proper cable installation. Whether you are setting up a home network, upgrading an office, or installing structured cabling in a commercial building, choosing the right cable and following correct installation practices can make a significant difference in network performance.
Poor cable selection, improper termination, and...
Continue Reading
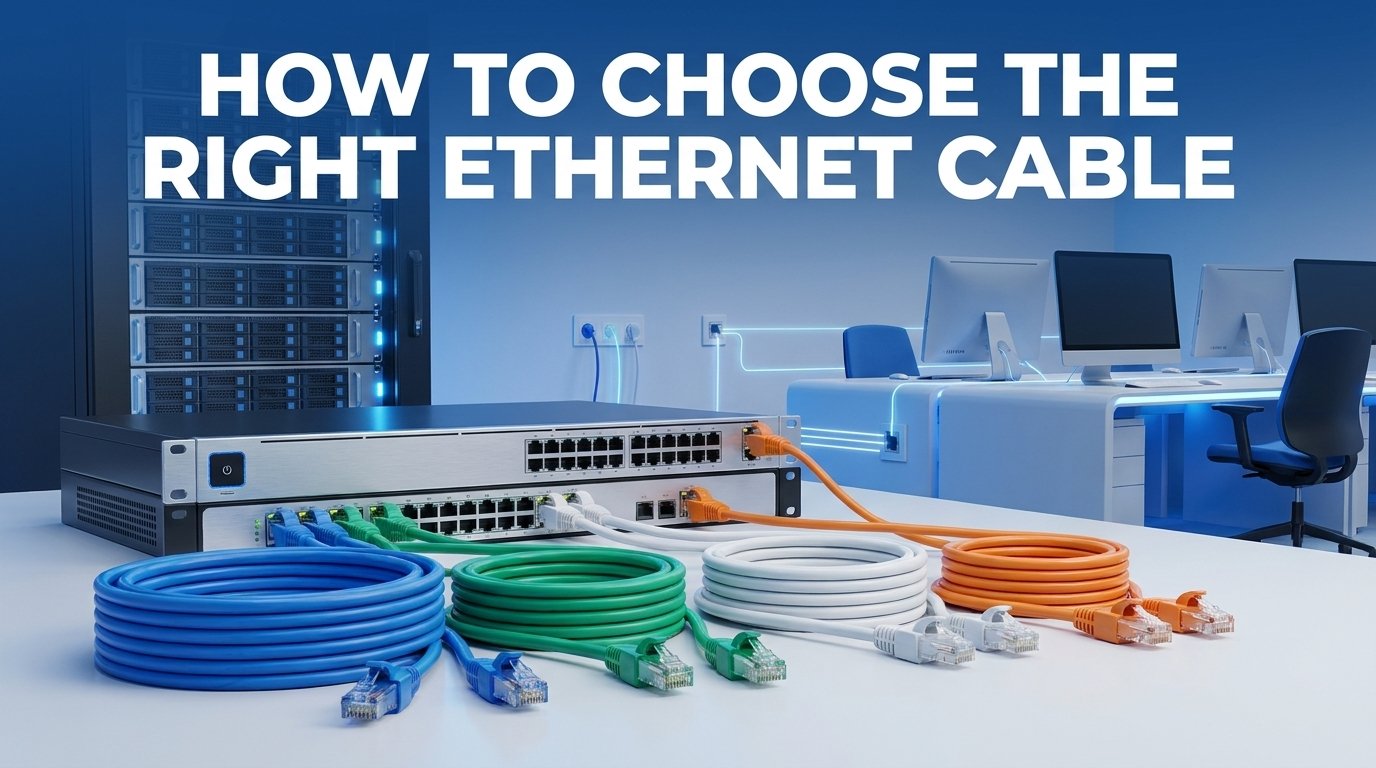
How to Choose Ethernet Cable for a New Office Network
How to Choose Ethernet Cable for a New Office Network
Setting up a new office network requires more than choosing a fast internet connection. The Ethernet cables you install will affect network reliability, data speeds, Power over Ethernet (PoE) performance, and future upgrade options. Choosing the right cable from the beginning...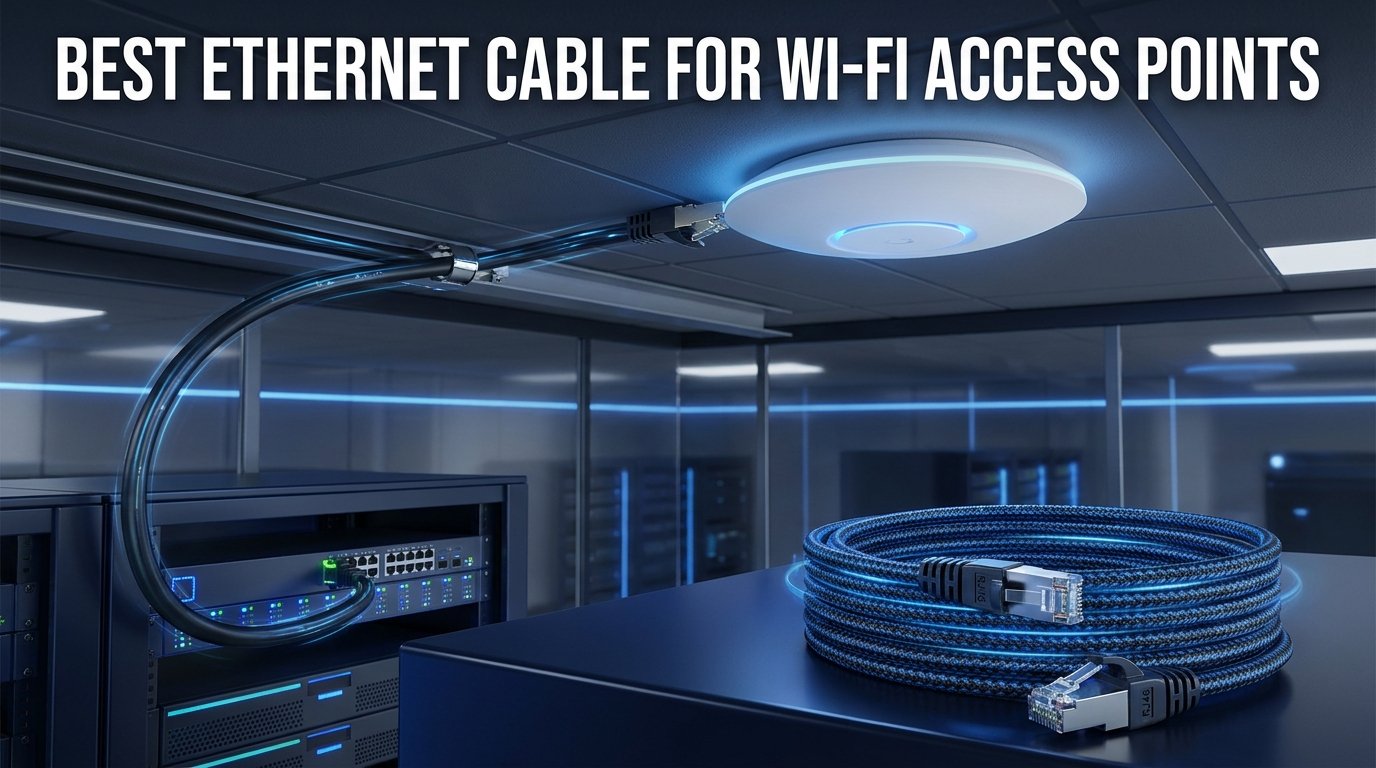
Best Ethernet Cable for Wi-Fi Access Points
Best Ethernet Cable for Wi-Fi Access Points
A reliable Wi-Fi access point needs more than a good wireless signal. The Ethernet cable connecting it to your router, network switch, or PoE switch plays an important role in delivering stable connectivity, supporting high speeds, and providing power when required. Whether you are installing...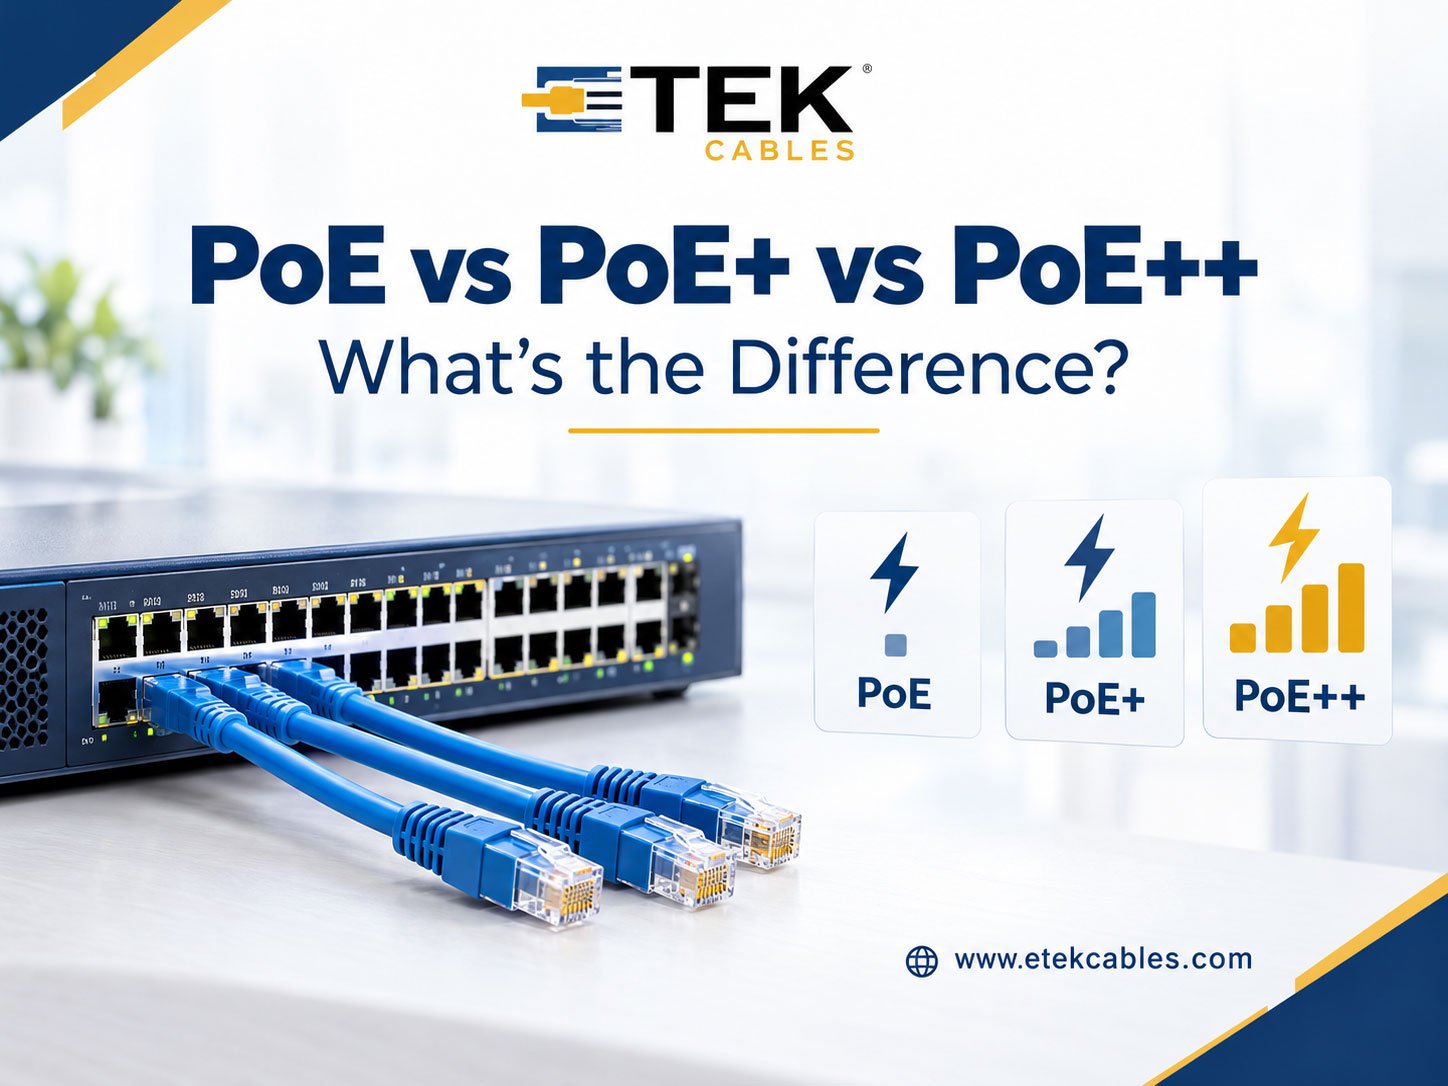
PoE vs PoE+ vs PoE++: What's the Difference?
Power over Ethernet (PoE) technology allows a single Ethernet cable to carry both data and electrical power to compatible devices. It simplifies network installations by reducing the need for separate power adapters and electrical outlets. However, not all PoE standards deliver the same amount of power.
Understanding the differences between PoE,...
Continue Reading
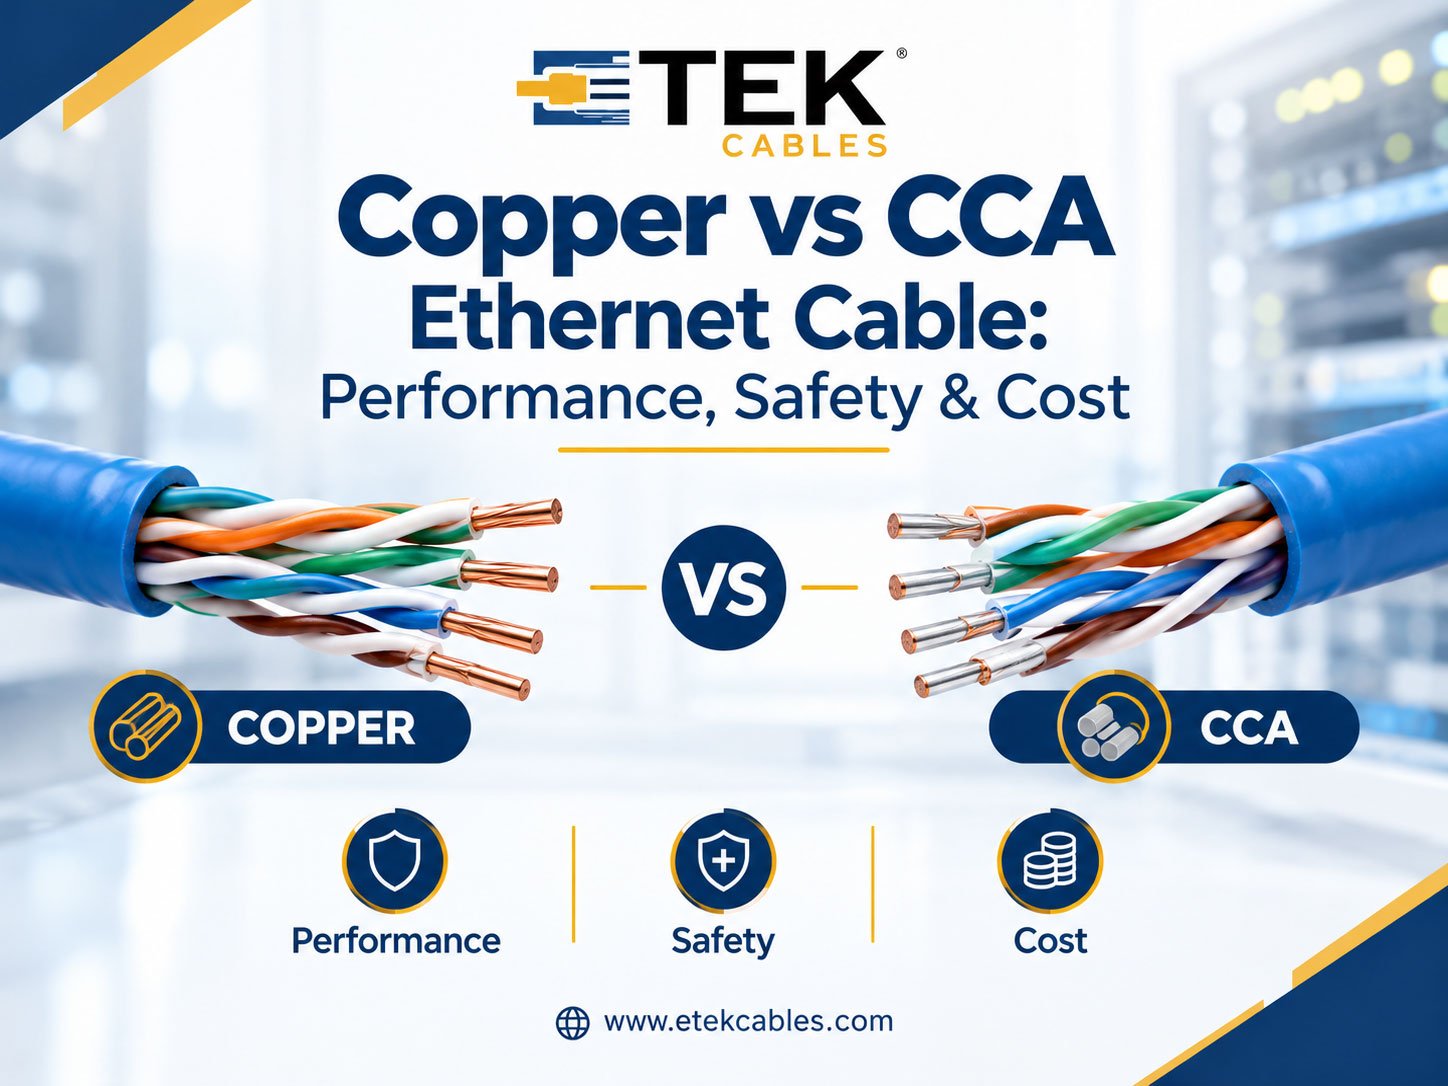
Copper vs CCA Ethernet Cable: Performance, Safety & Cost
Choosing the right Ethernet cable is essential for building a reliable network. While solid or stranded copper cables are widely used in professional installations, Copper-Clad Aluminum (CCA) cables are often marketed as a cheaper alternative. Although both types may look similar from the outside, their differences in performance, safety, and...
Continue Reading
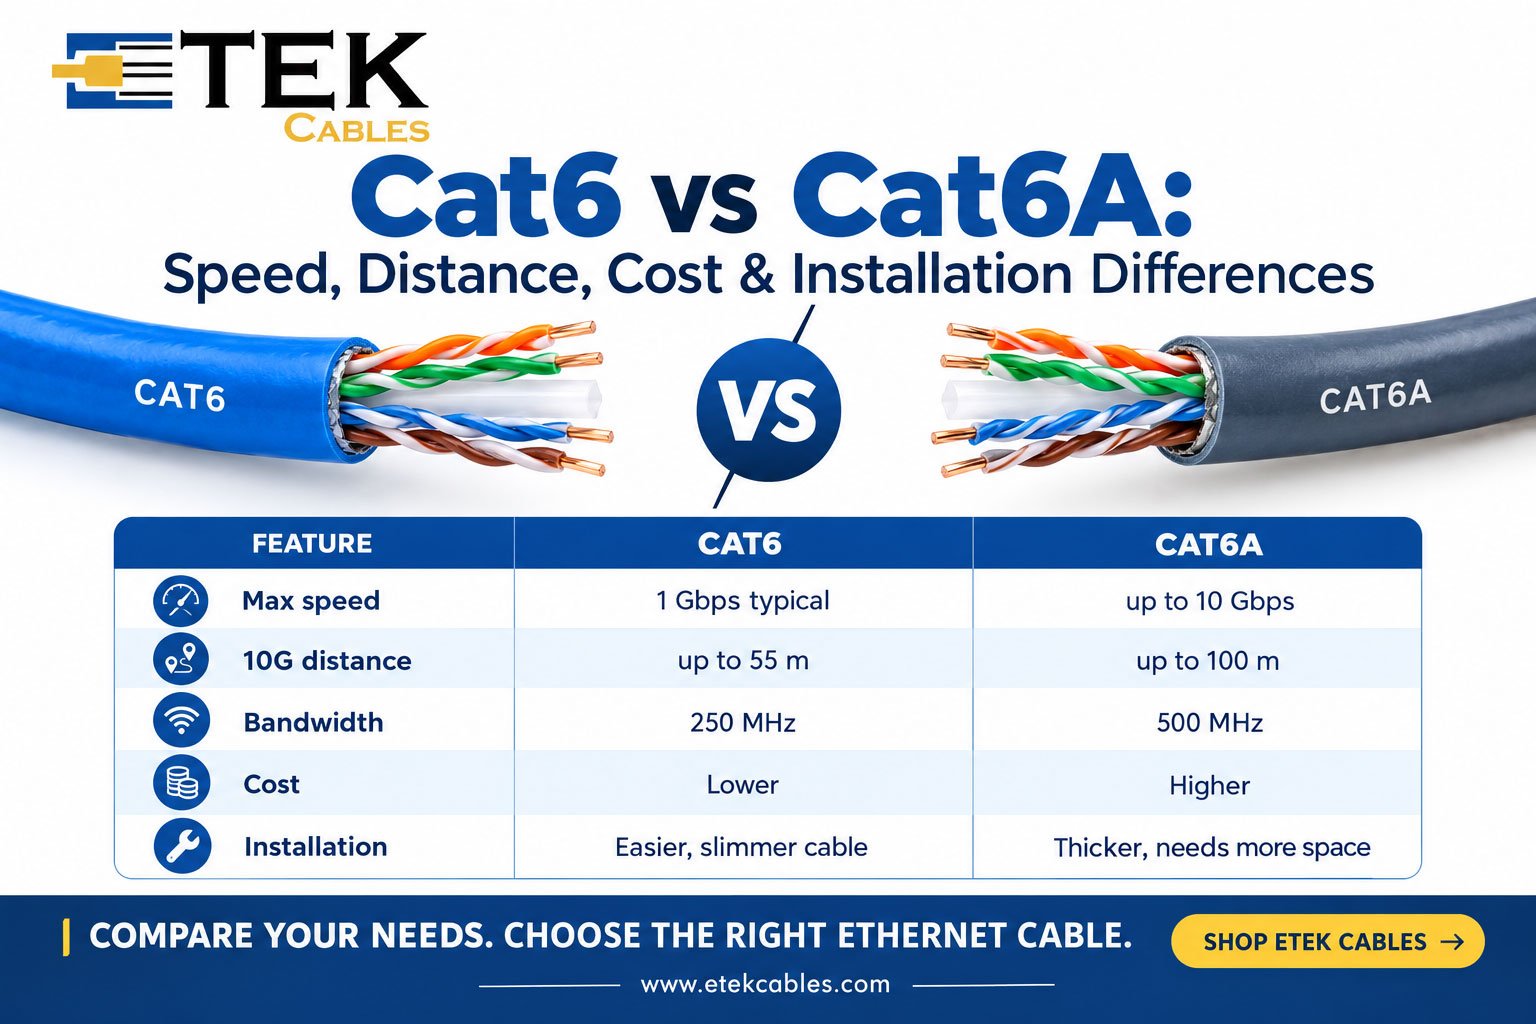
Cat6 vs Cat6A: Speed, Distance, Cost & Installation Differences
Choosing between Cat6 and Cat6A Ethernet cable can be challenging when planning a home network, office installation, or commercial cabling project. Both cable categories support high-speed Ethernet, but they differ in bandwidth, maximum distance for 10Gbps connections, construction, cost, and installation requirements.
Cat6 is a popular choice for everyday networking because...
Continue Reading
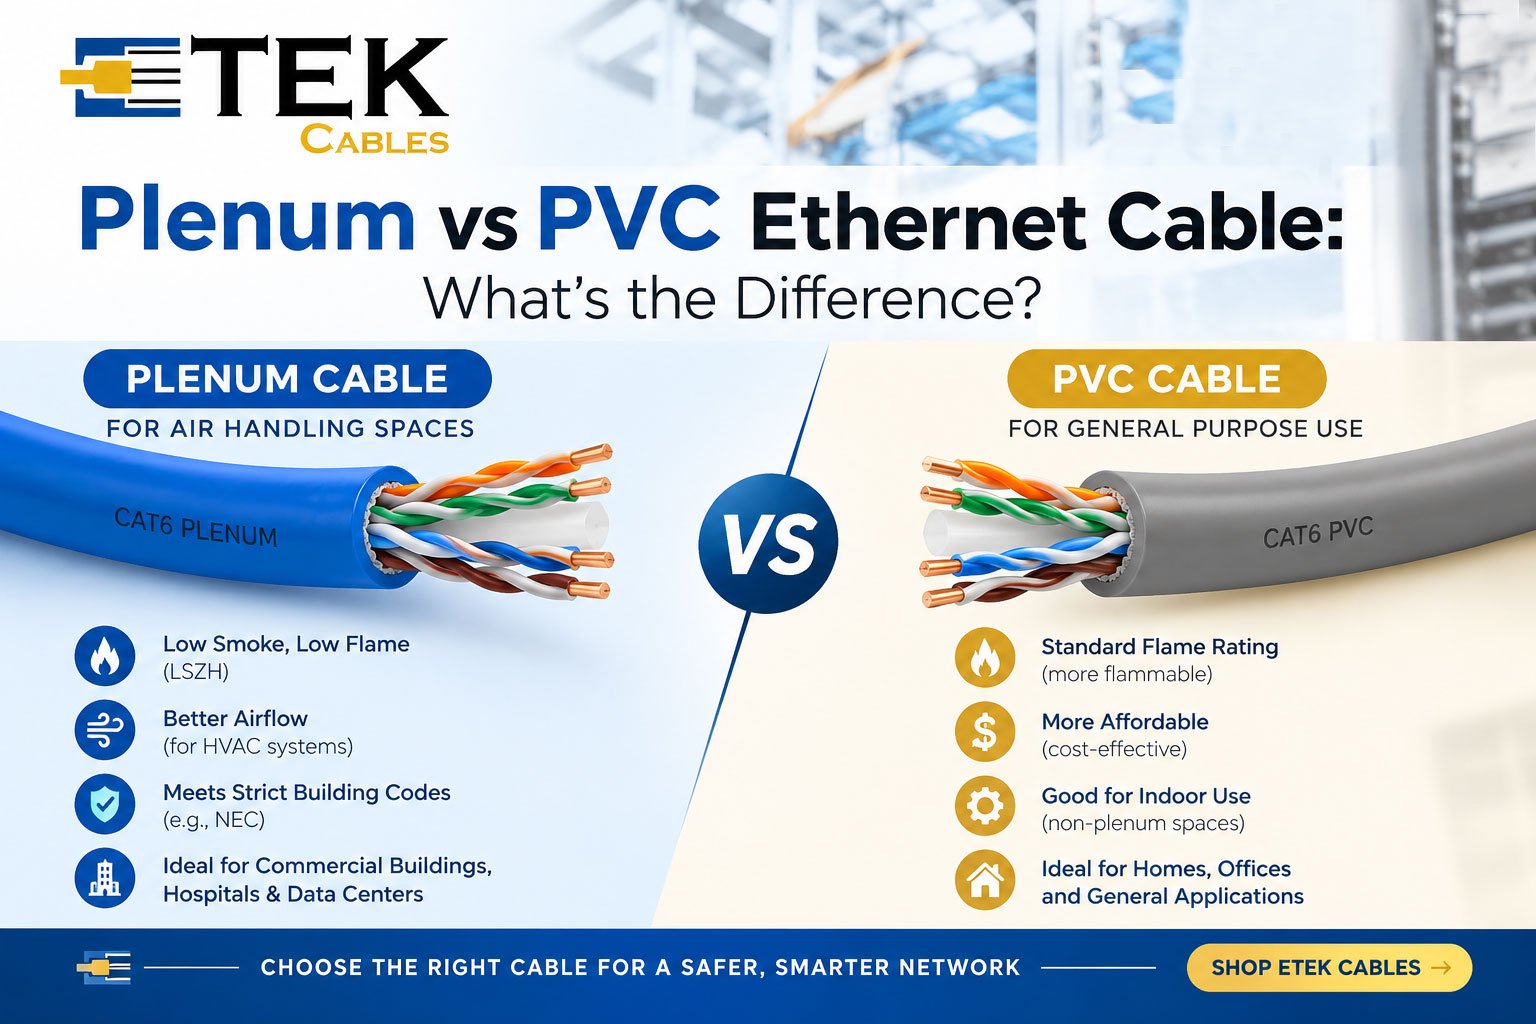
Plenum vs PVC Ethernet Cable: What's the Difference?
Plenum vs PVC Ethernet Cable: What's the Difference?
Choosing the right Ethernet cable involves more than selecting Cat5e, Cat6, or Cat6A. You also need to consider the cable jacket, especially when installing network wiring inside commercial buildings, offices, schools, or homes. Two common options are plenum-rated Ethernet cable and PVC-jacketed...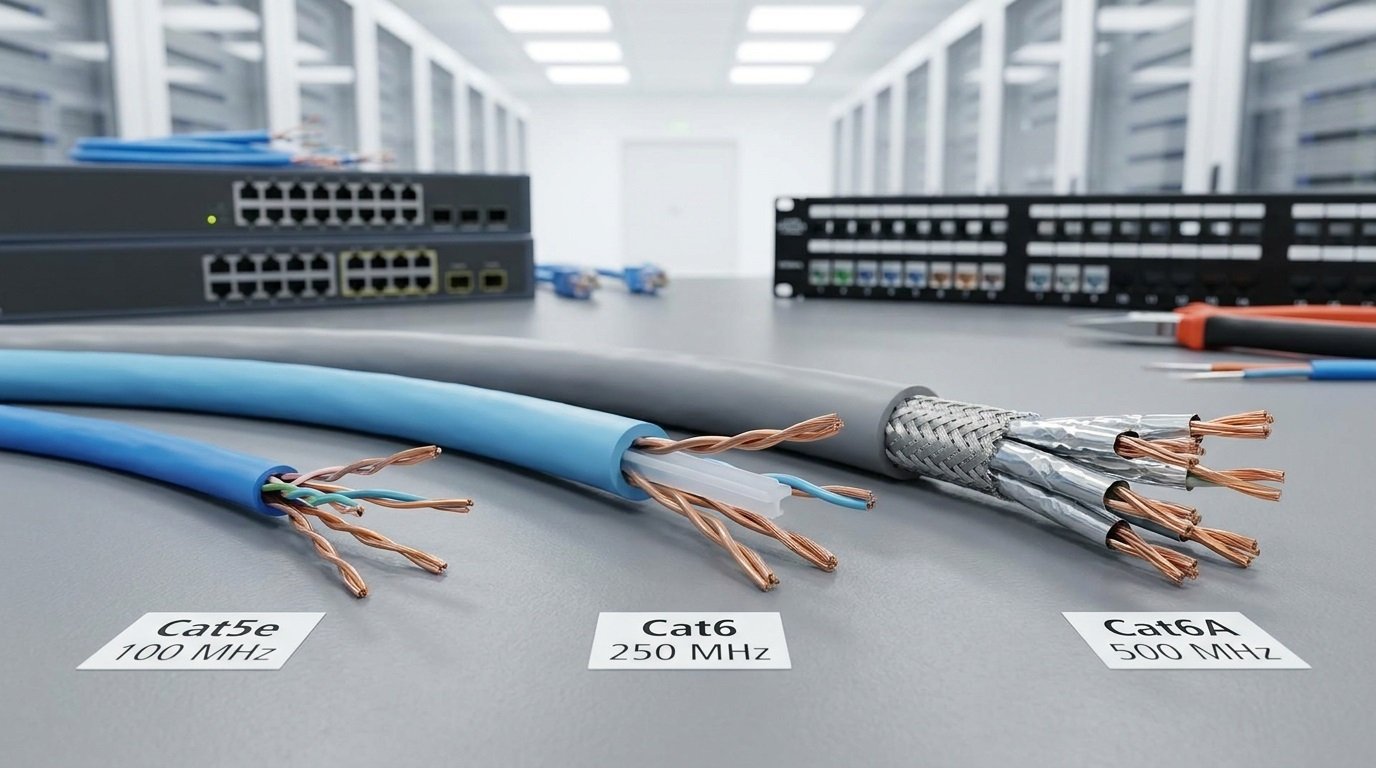
Cat5e vs Cat6 vs Cat6A: Which Ethernet Cable Should You Choose?
Choosing the right Ethernet cable can have a major impact on the performance, reliability, and long-term value of a network. Whether you are setting up a home office, upgrading a business network, installing security cameras, connecting wireless access points, or designing a larger commercial infrastructure, the cable category you choose...
Continue Reading
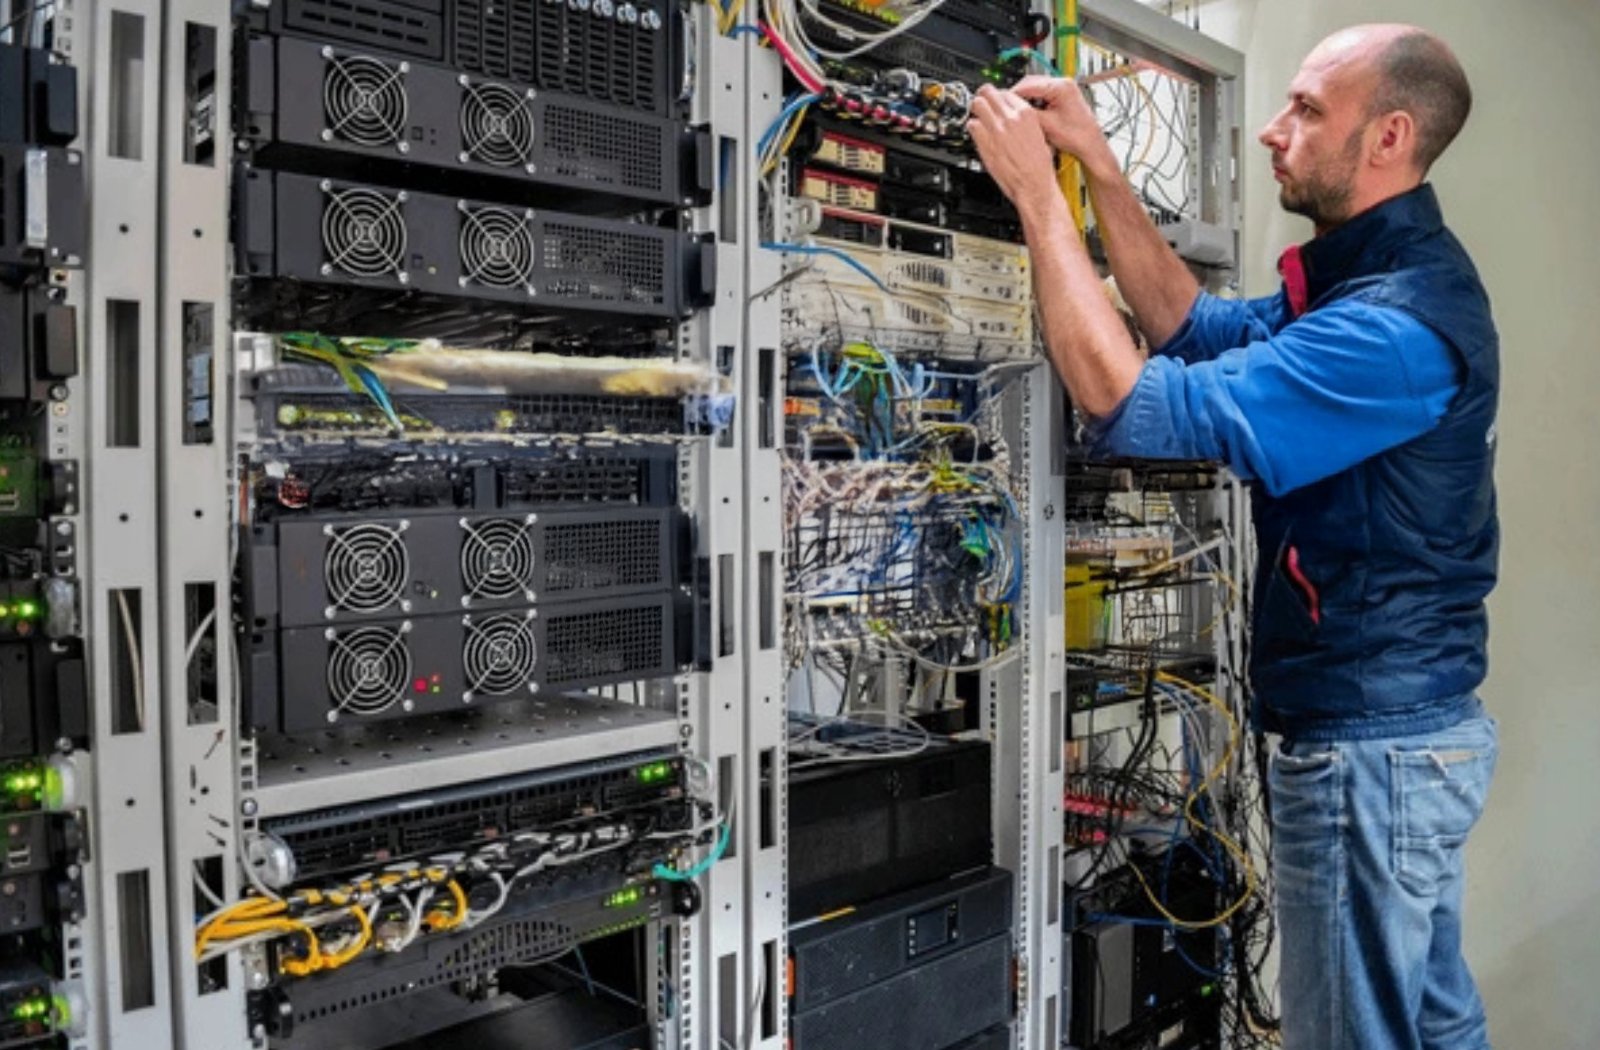
How to Choose the Right Category of Ethernet Cable for Your Network
The Ethernet cables are the backbone of most wired networks, providing reliable and high-speed data transmission for homes, offices, and data centers. However, with so many categories of Ethernet cables available, choosing the right one can be a daunting task. The category of Ethernet cable you select will directly impact...
Continue Reading